I'll start off by saying that this mod is 100% legal. The light output is not affected in anyway by doing this. The reflectors are still intact and reflect light the way they did when the lights were stock. If you manage the crack your lenses while taking the housings apart, I am not responsible! You MUST take your time while doing this. Rush the job and you will mess up guaranteed!
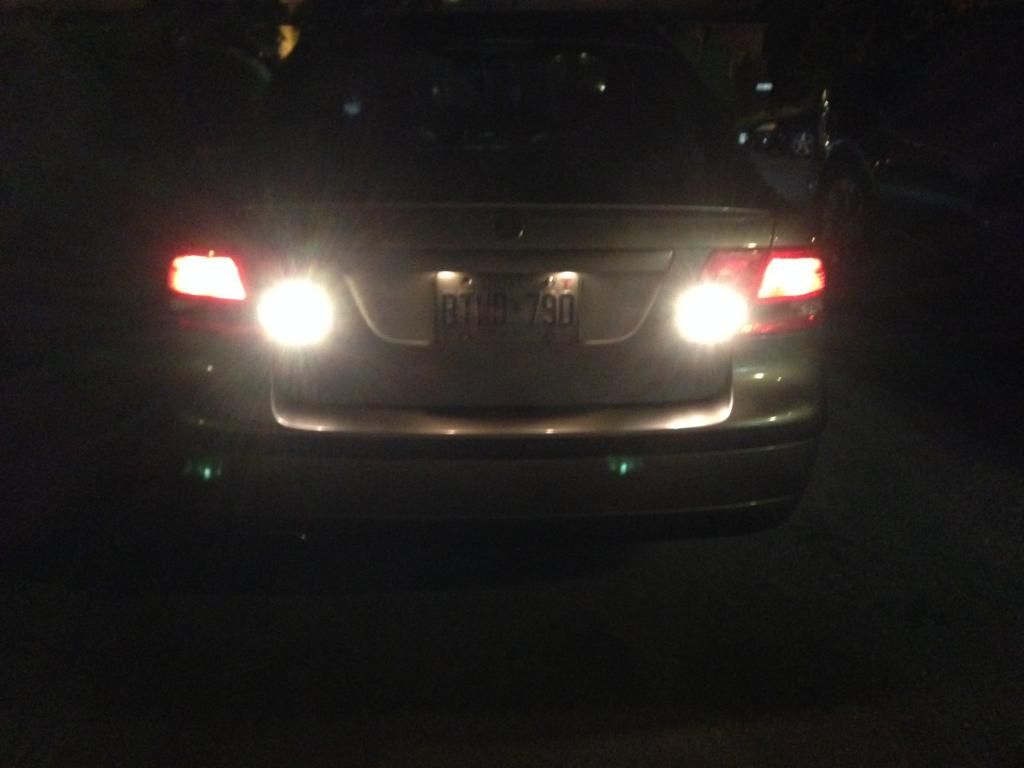
So i've wanted to modify the tails on my car for some time now. I am not into attracting police attention or dimming the output of something as important as tail lights so spray and vinyl tint we're automatically out. That left me with pretty much no options (other than the popular 08+ VHT mod). I believe I am the first person to do something like this to a set of 93SS tails (Don't quote me on that)
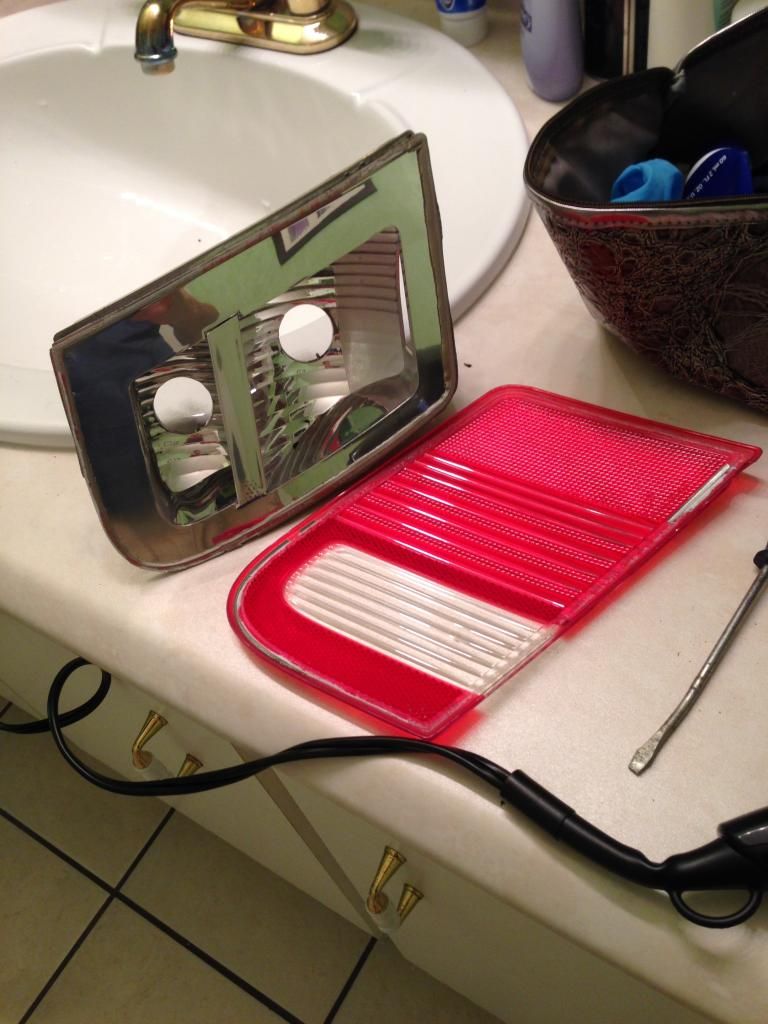
I noticed that my drivers lens' seal was separating from the housing due to age (My buddies 93SS is doing the same thing). I was already planning on doing a reseal anyways, so why not experiment with some plasti dip. This was my first time doing anything like this, so I was learning as I was going. If I can do it, you can do it.
Things needed:
-Black plastic paint or Plasti dip (I prefer dip)
-Heat gun or hair dryer
-Butter knife or flat head screw driver
-Adhesive clear silicone
-Time
-Patience
-More of these two^
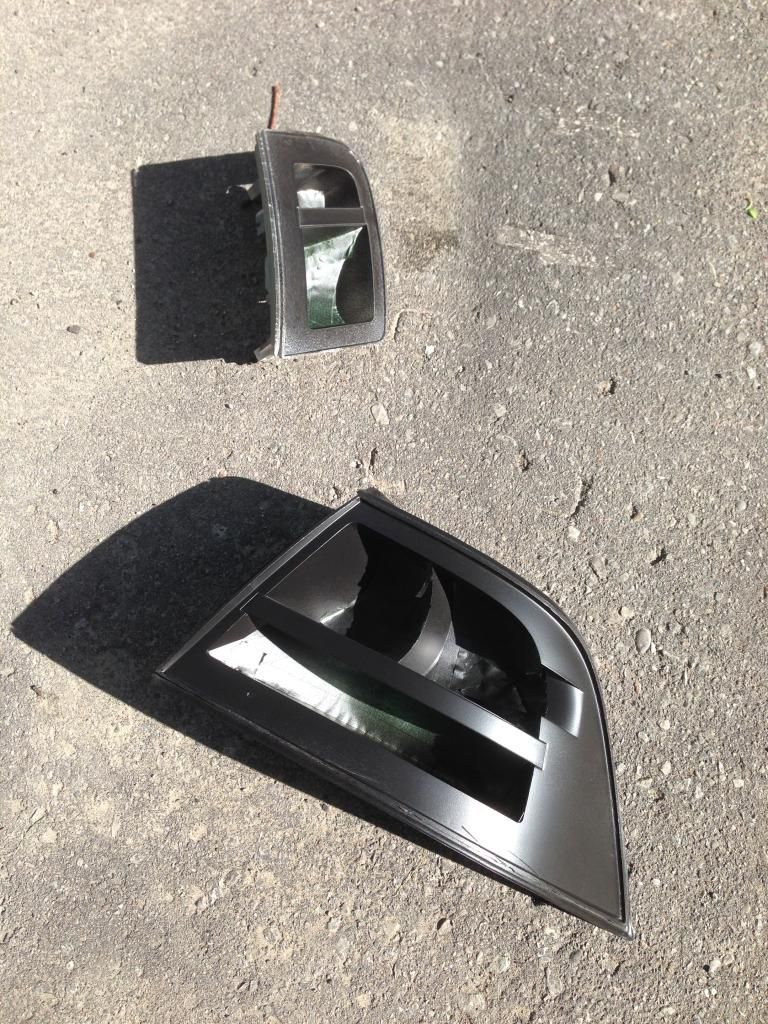
The hardest part of this mod is actually separating the lenses from the housings. You do NOT want to crack your lenses. Just don't do that. This is why lots of heat and patience are key here.
Start by heating up the are around the housing where the seal is. If you're lucky like me, the old adhesive will be dried up and will come apart easy. You will hear some pretty intense cracking noises as the lenses are separating, this is normal.
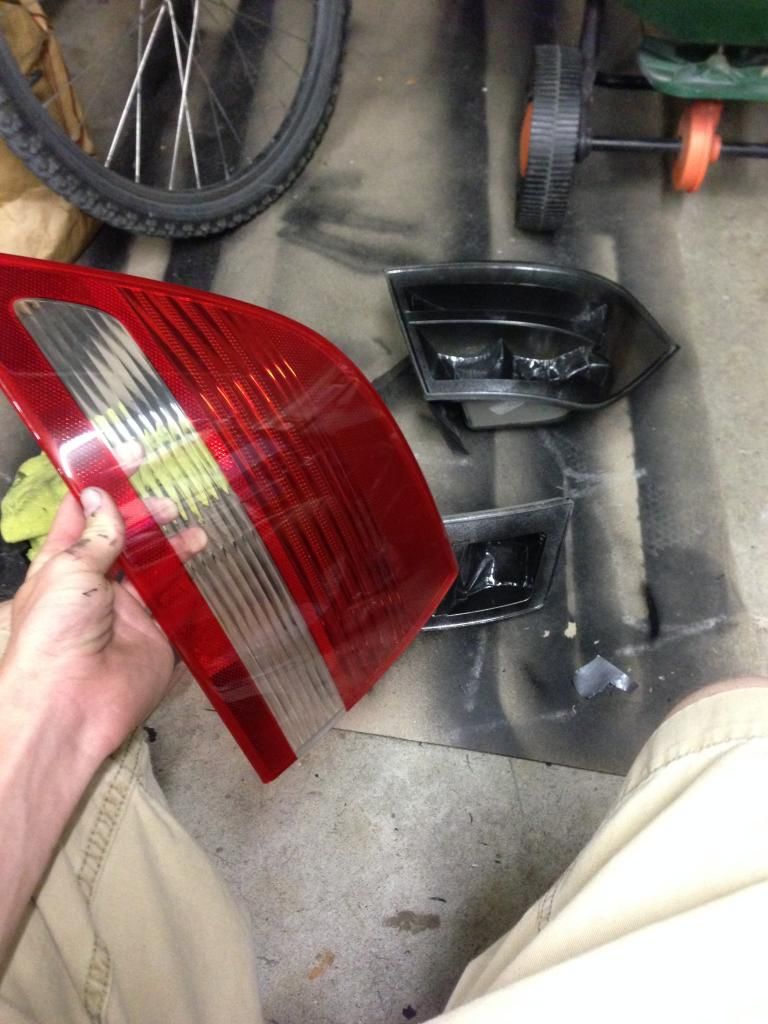
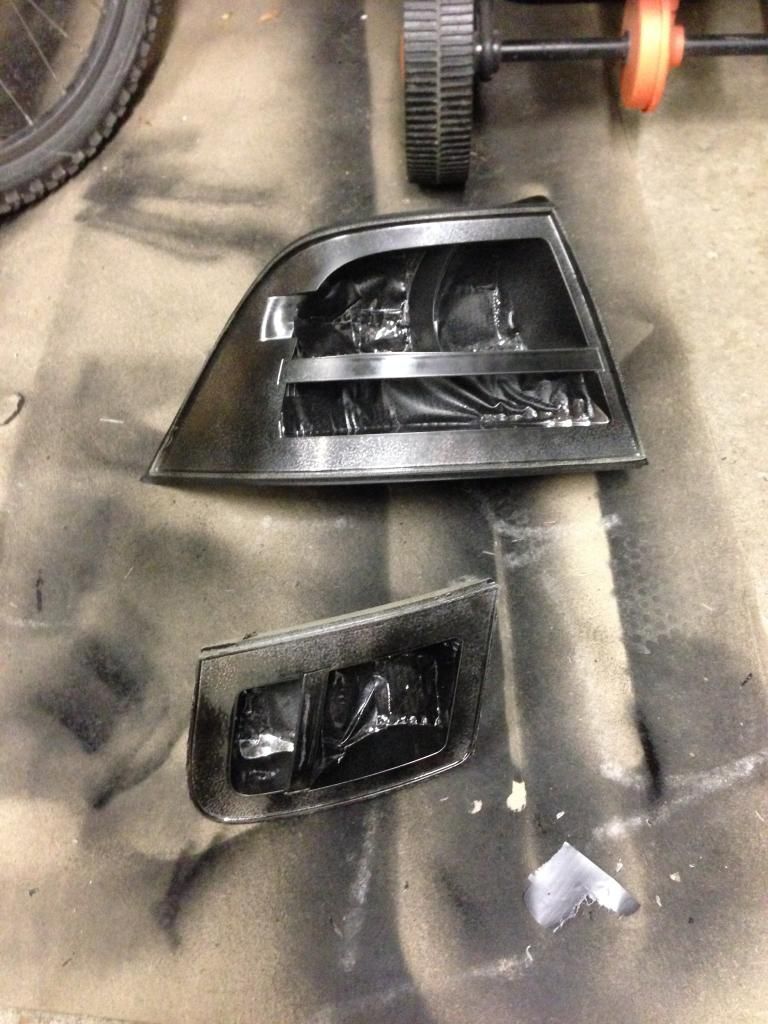
Once you get the housings apart, clean the insides of the housings really well. The areas you want to tape off are the areas that 'reflect' the light outwards. Any flat smooth chrome areas will not need to be taped off, only the areas that look like tiny angled mirrors need to be taped off.
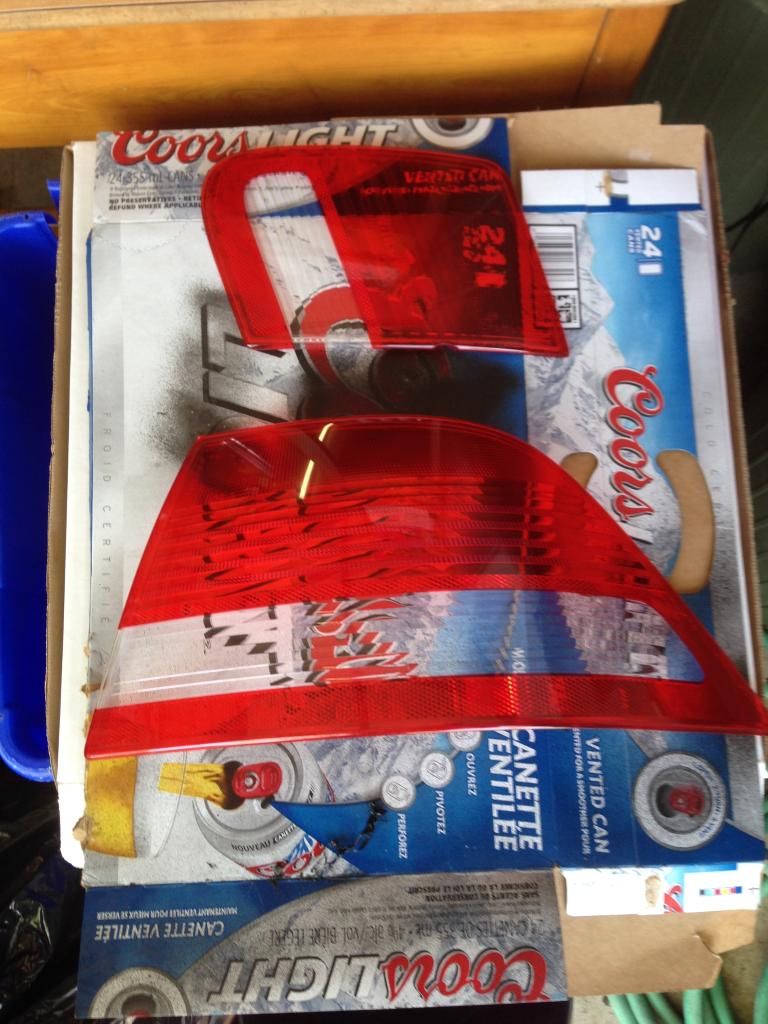
Once you've got them taped off, simply spray a few coats of your desired paint and wait. That's the easy part.
If you use dip, go easy on removing the tape. Use a razor blade where necessary. Imperfections won't be seen once the lens is back on, so don't worry too much if some of the paint or dip looks a little imperfect.
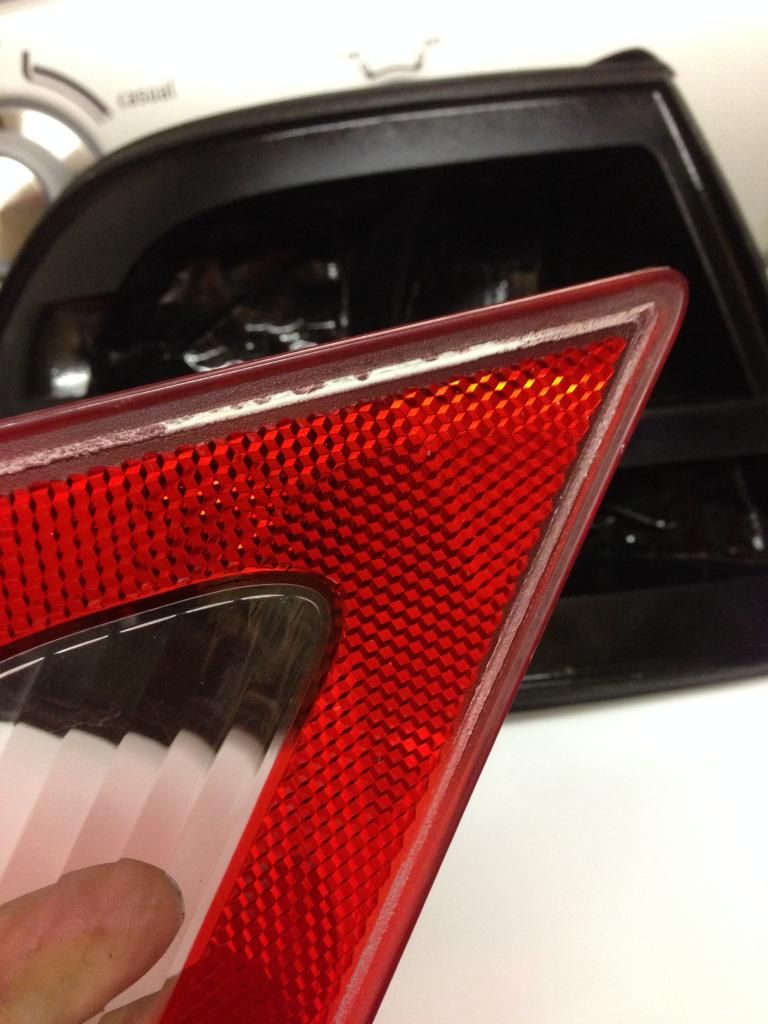
To put the lens/housings back together, you need to prep the bonding surfaces. Remove as much of the old adhesive/sealant as possible. I found that using a good chemical helped dissolve some of it. I used a razor blade to chip at it aswell.
Once you have the bonding surfaces preped, place a small bead of silicone/adhesive along the bonding surface of the HOUSING. Don't put the sealant on the lens. Next step, place the lens on the housing. Place the assembled housings in an upright position (So the lenses are facing up) and let them cure for about an hour.
Next step, Install and enjoy!
Overall, it's a fairly easy process. Getting the lenses seperated is the hardest part. Sealing them up isn't too hard, just make sure you're using the right silicone adhesive and put a solid bead on the bonding surface. I've had them on my car for over a week now with no leaks what so ever. The adhesive I used is holding up perfect aswell.
Let me know what you guys think!
![]()
![]()
![]()
![]()
![]()
(Bonding surface on lens)
![]()
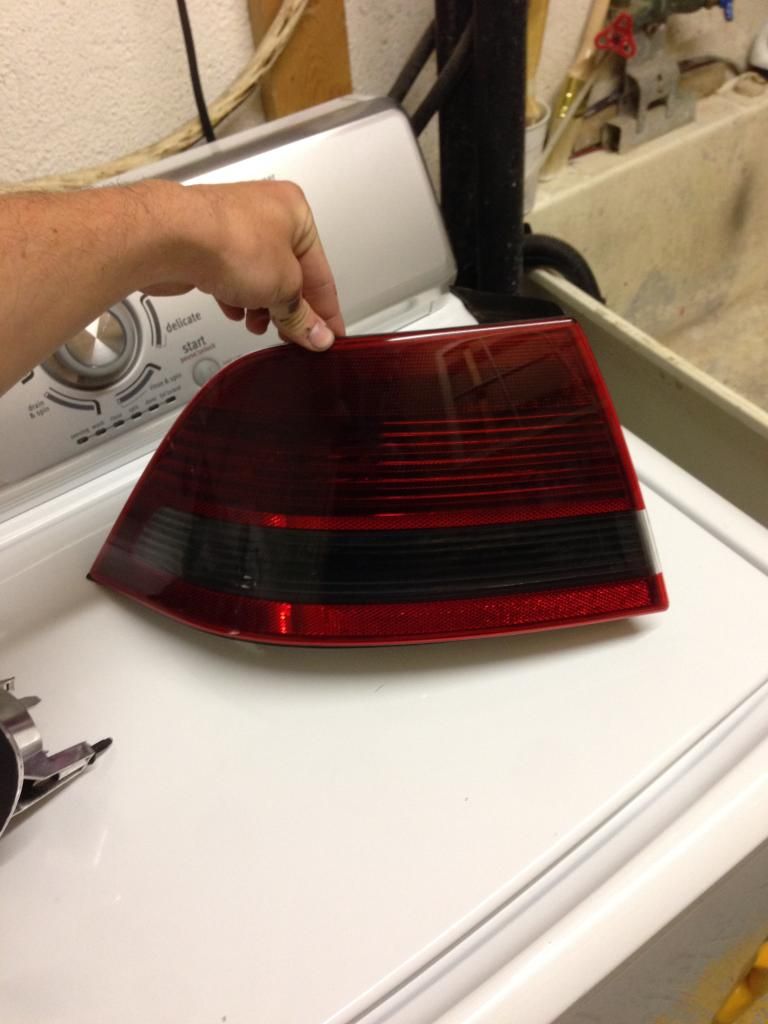
Complete
![]()
Modified light on left, stock on right
![]()
![]()
So i've wanted to modify the tails on my car for some time now. I am not into attracting police attention or dimming the output of something as important as tail lights so spray and vinyl tint we're automatically out. That left me with pretty much no options (other than the popular 08+ VHT mod). I believe I am the first person to do something like this to a set of 93SS tails (Don't quote me on that)
I noticed that my drivers lens' seal was separating from the housing due to age (My buddies 93SS is doing the same thing). I was already planning on doing a reseal anyways, so why not experiment with some plasti dip. This was my first time doing anything like this, so I was learning as I was going. If I can do it, you can do it.
Things needed:
-Black plastic paint or Plasti dip (I prefer dip)
-Heat gun or hair dryer
-Butter knife or flat head screw driver
-Adhesive clear silicone
-Time
-Patience
-More of these two^
The hardest part of this mod is actually separating the lenses from the housings. You do NOT want to crack your lenses. Just don't do that. This is why lots of heat and patience are key here.
Start by heating up the are around the housing where the seal is. If you're lucky like me, the old adhesive will be dried up and will come apart easy. You will hear some pretty intense cracking noises as the lenses are separating, this is normal.
Once you get the housings apart, clean the insides of the housings really well. The areas you want to tape off are the areas that 'reflect' the light outwards. Any flat smooth chrome areas will not need to be taped off, only the areas that look like tiny angled mirrors need to be taped off.
Once you've got them taped off, simply spray a few coats of your desired paint and wait. That's the easy part.
If you use dip, go easy on removing the tape. Use a razor blade where necessary. Imperfections won't be seen once the lens is back on, so don't worry too much if some of the paint or dip looks a little imperfect.
To put the lens/housings back together, you need to prep the bonding surfaces. Remove as much of the old adhesive/sealant as possible. I found that using a good chemical helped dissolve some of it. I used a razor blade to chip at it aswell.
Once you have the bonding surfaces preped, place a small bead of silicone/adhesive along the bonding surface of the HOUSING. Don't put the sealant on the lens. Next step, place the lens on the housing. Place the assembled housings in an upright position (So the lenses are facing up) and let them cure for about an hour.
Next step, Install and enjoy!
Overall, it's a fairly easy process. Getting the lenses seperated is the hardest part. Sealing them up isn't too hard, just make sure you're using the right silicone adhesive and put a solid bead on the bonding surface. I've had them on my car for over a week now with no leaks what so ever. The adhesive I used is holding up perfect aswell.
Let me know what you guys think!
(Bonding surface on lens)
Complete
Modified light on left, stock on right